Dielines and artwork: preparing files for packaging
A dieline is the flat map of your box: every cut, fold and glue area. Get your artwork onto it correctly and the printed box will line up perfectly.
Start with our dieline
We send a dieline for your exact box size and style, usually as a PDF or Illustrator file. Cut lines and fold lines are on separate layers. Place your artwork on a layer underneath and do not move or edit the dieline itself.
Bleed and safe area
- Bleed: extend background colours and images about 3 mm past the cut lines so no white edges appear when the board is trimmed.
- Safe area: keep text and logos at least 3 mm inside the cut and fold lines so nothing gets clipped or wraps around a corner.
Colour
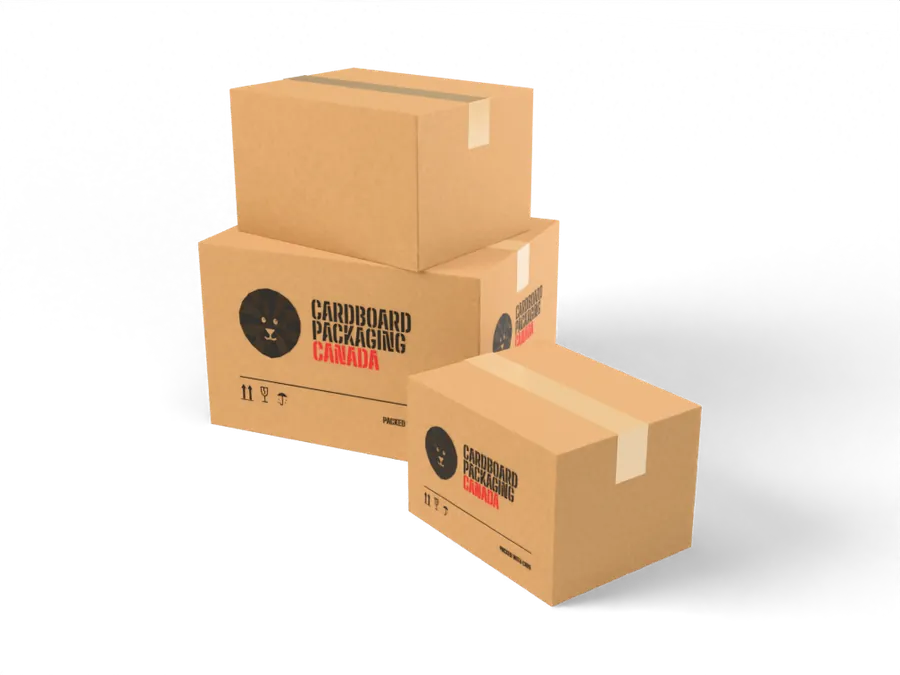
Set up artwork in CMYK. If your brand uses specific colours, specify Pantone references and we will match them on the proof. Remember that colours printed on kraft come out darker.
Resolution and fonts
Photos and raster images should be at least 300 dpi at the printed size. Convert fonts to outlines or embed them, and send a print ready PDF or Illustrator file.
Check the panels
Fold a printout of the dieline into a little paper box. It is the fastest way to spot artwork that ends up upside down on a flap. Then we send a proper proof for approval before anything prints.
Ready for a price? Send us your box size and quantity and we will reply with options and a production date.